This post contains affiliate links.
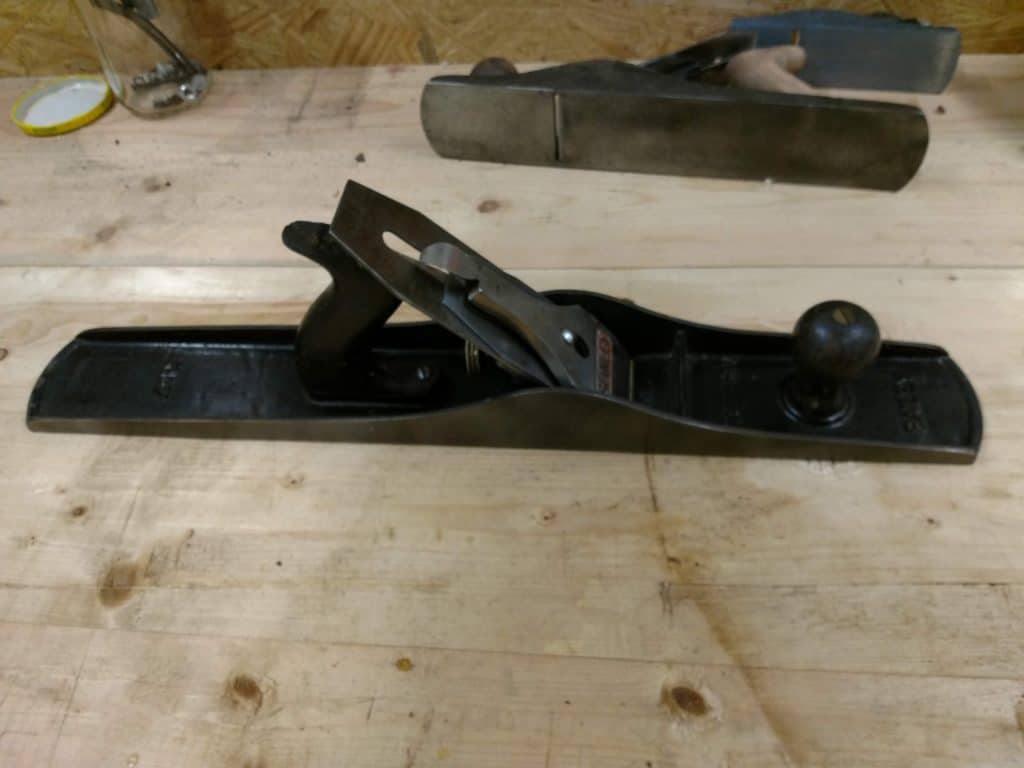
After watching a lot of woodworking videos and reading about what tools are needed to outfit a shop, I decided I needed to get a hold of a couple of hand planes: a bench or jack plane (#5 1/2) and maybe a jointing plane (#7) to go with the workbench I’m building. I started shopping around for a good deal, but didn’t want to spend an arm and half a leg to get two good planes. In the middle of my search, I went looking for something else in the shop and opened up my grandpa’s old toolbox. What did I find there? A Stanley Bailey #5 1/2 and a #7. Neither had touched a piece of wood for work purposes in probably 30 years. Now all I needed to do is clean them up and make them usable. But how to go about it?
Links in this article (and all our articles) may be affiliate links. If you choose to do business with the companies we are affiliated with, this site may get a small commission at no additional cost to you.
Figuring it Out
I must have watched 25 videos on YouTube about restoring hand planes. One of my favorite channels is Rex Krueger’s – Rex Figures It Out. This guy is awesome – he’s funny and he does really cool projects. One of his videos is below. He talks about quickly getting a hand plane into working order. I watched it a few times because I wanted to make sure the process wouldn’t be too destructive for my granddad’s planes.
I went and got a wire wheel for my bench grinder. I followed the video to the letter; like I said, I really like this guy. The process Rex describes worked out great!
The Process
I dripped a little 3-in-1 oil around all the screws except those on the tote and handle. After leaving overnight, I was able to unscrew all screws and disassemble both planes. I set aside the small parts for each plane in its own jar.
Next, I turned my attention to the body and the frog. I took the wire wheel to both to clean away the little bit of surface rust. After that, I flattened out the frogs with some 300-grit wet/dry paper on my sharpening setup. With that done, I cleaned up the parts with a little mineral spirits to cut through the remaining years of gunk.
I used the wire wheel as Rex noted to clean up all the small parts. They came out great in a very short time! I love this process!
One thing I had to do was to straighten the rod that runs through the tote. I put it in my bench vice so the bend was parallel to the floor, then clamped it down really tight. After turning it and doing it a few more times, the rod came out pretty straight.
Reassembly and Sharpening
Putting it back together was pretty much just reversing the disassembly process. Everything went back together easily, allowing me to get right on to flattening and sharpening. Once all the parts were in place, I made sure the iron was retracted and took a full sheet of 300 grit wet-dry sandpaper on a granite tile to the bottom to ensure it’s flat.
Now that the hand plane body is all done, I can turn my attention to the iron. I pulled it out of the plane and got to work sharpening it. The whole sharpening setup is the topic for another day, so I’ll wrap up with this: the process Rex outlined is a great way to get a new-to-you plane out of the packaging and doing work in a very short time.