This post contains affiliate links.
Now that my ShopSmith Mark V 510 is cleaned and reassembled, things just need a little adjustment. All it takes is the Shopsmith toolbox (5/32 hex wrench), a #2 Phillips screwdriver, common screwdriver, the flat sanding disc, and a (very) little time. We’ll adjust the way tube lock first, then move on to leveling the tubes. Afterward, we’ll align the tables (work and extension) to each other and the headstock, then finally adjust the fence and miter gauge. Official from-the-factory alignment information is available directly from ShopSmith here.
Way Tube Leveling and Lock
The way tubes should make contact with the stops at the same time. One has a set screw-style adjustment that can be used to make sure both contact the stop. Now that the stops are aligned, we can check the lock alignment. You should be able to lock it reasonably easily. It shouldn’t be loose. If it’s loose, tighten the screw with a common screwdriver. If the lock is too tight, the handle won’t go all the way down; loosen the screw. Make sure it’s locked for the next operation.
Work Table Alignment
I mounted the ShopSmith Mark V 510 sanding disk on the headstock and the work table on the carriage. I set the table height to center of the sanding disk, and moved the table over as close to the sanding disk as possible without making contact. I adjusted the table height to center of the disk, then turned the motor to gauge at which point the disk is closest to the table. Once I marked that point, I turned it straight up. I loosened the table mounting screws just a little and moved the table so the front and rear distances are the same. Once lined up, I tightened the screws back down.
Extension Table Alignment
Aligning the extension table is pretty easy. I mounted it to one end, aligned the tabletop with the work table, then measured the distance between the front corners of the tables. I compared that measurement with the distance between the back corners of the tables. I loosened the four mounting screws on the extension table and turn it ever so slightly until it’s parallel with the work table. Once that’s done, I tighten the mounting screws back down.
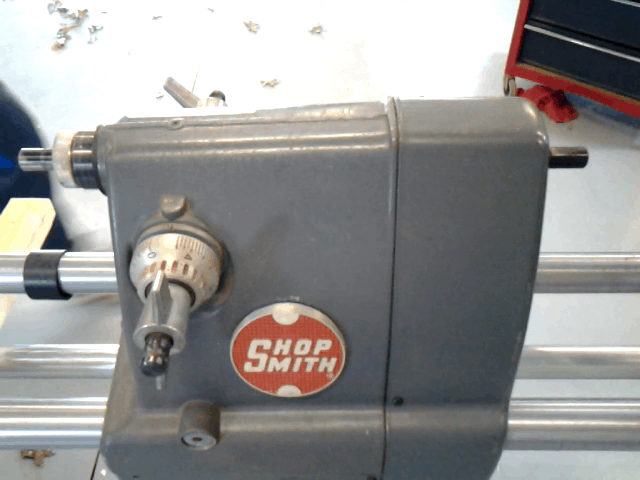
Lathe Tailstock
The last alignment to do is the lathe tailstock. The tailstock adjustment is a combo platter of left-to-right on the dial, and up-and-down with the lock ring on the mounting pins. I mounted the dead center in the tailstock and the drive center on the headstock first, then moved the headstock as close as I could get it to the tailstock. Next, I extended the quill out so the drive center was as close as I could get it to the tailstock center without touching. After loosening the set screw on the dial, I adjusted the left-to-right pretty close. I snugged it up a little, then moved to the vertical adjustment. I loosened the set screw on the collar, set the vertical adjustment and tightened the collar back up again. Turning my attention back to the horizontal adjustment, I made small adjustments until the drive center’s point and the dead center’s were exactly aligned. I swapped out the dead center for my new live center (which I LOVE!) and it was centered, too.
Final Notes
Like any machine, it will only be as precise as you make it. You do that by keeping the appropriate places lubricated and checking/adjusting alignments. I check the lathe tailstock alignment every time I mount it – of course it’s really easy to check. I should check the table alignment again; I did before I started using it, and think it’s probably a good idea to verify every two months or so.
Links in this article (and all our articles) may be affiliate links. If you choose to do business with the companies we are affiliated with, this site may get a small commission at no additional cost to you.